Follow the steps to Install SQL Server 2012 R2
Step 1. Browse setup of Microsoft SQL Server 2012, right click on Setup and then run as Run as administrator
Step 2. Keep wait for processing.
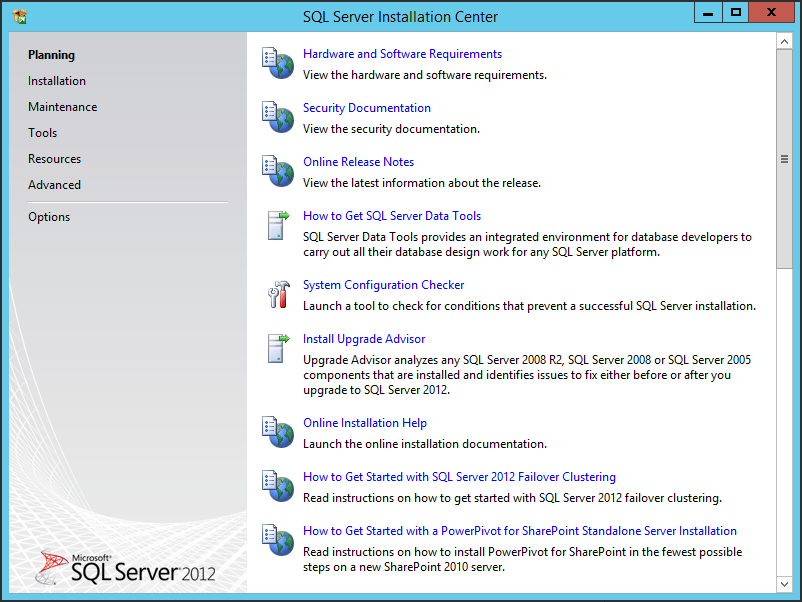
Step 3. The SQL Server installation Center screen will display with multiple options.
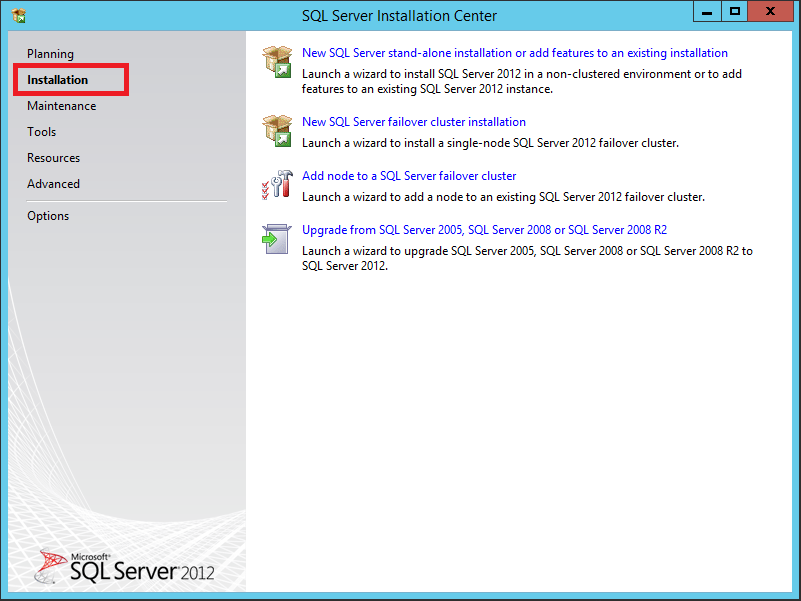
Step 4. Click on Installation.
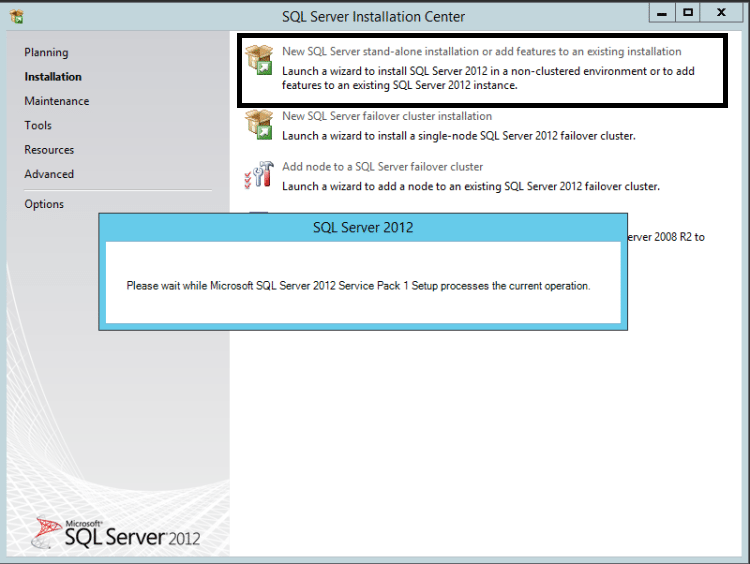
Step 5. Click on the New SQL Server stand-alone installation or add features to an existing installation and wait for the moment.
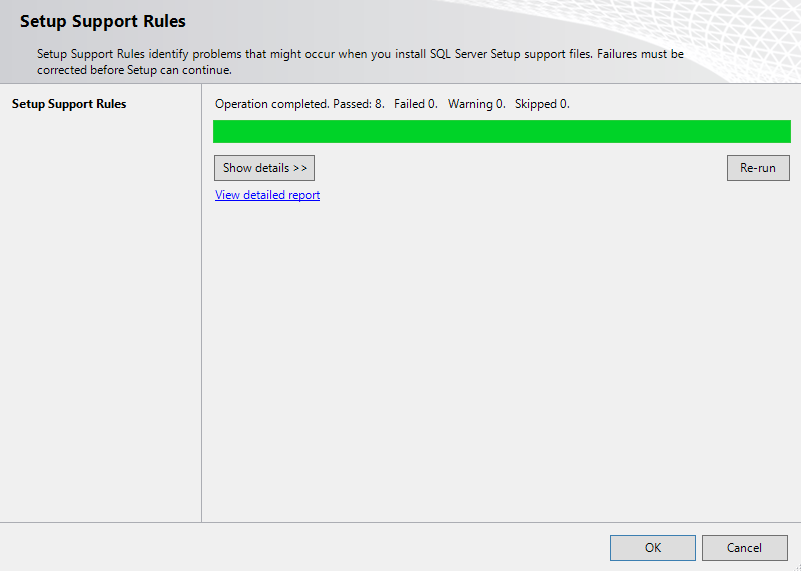
Step 6.Setup Support Rules screen comes, the Installer checking for if there is any issues while installation.
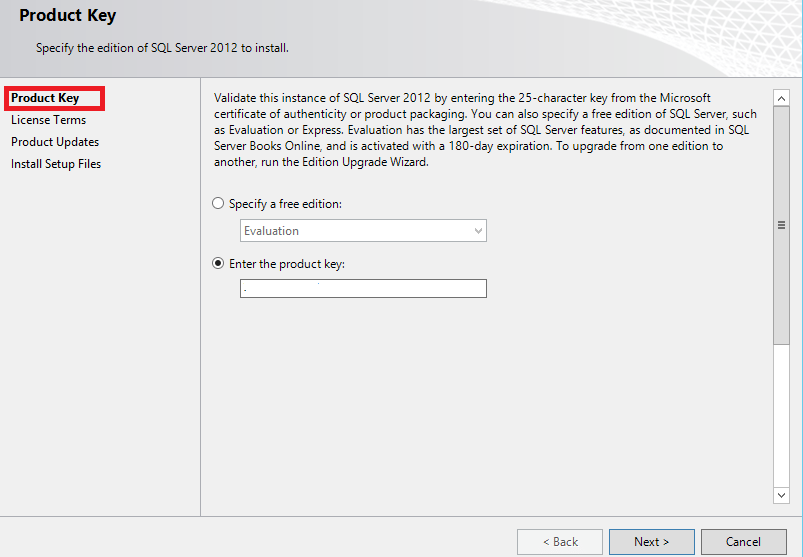
Step 7. In the Product Key screen,provide a valid license Key. If you are installing the free version,select the Specify a free edition or enter the license key and click Next to continue
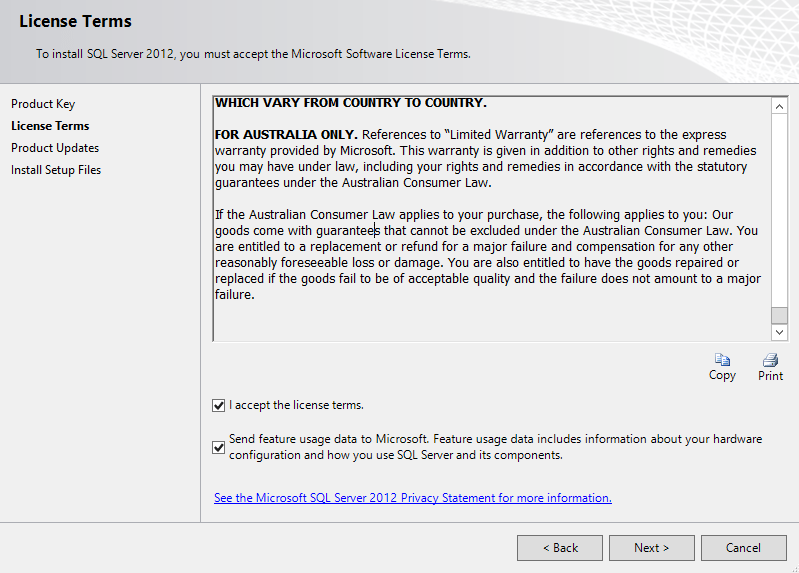
Step 8. Accept the license terms option for next.
Step 9. Click on Next to continue
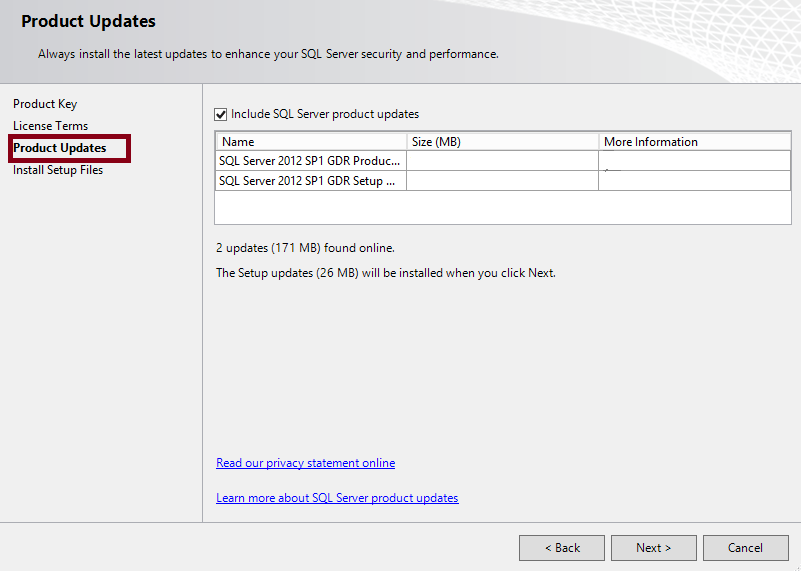
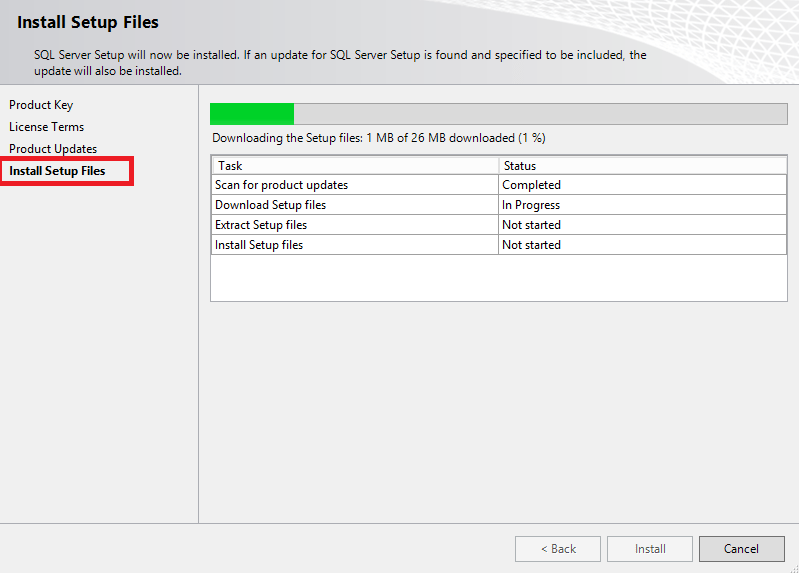
Step 10. Install Setup Files the setup files will be downloaded.Click on the Install to continue.
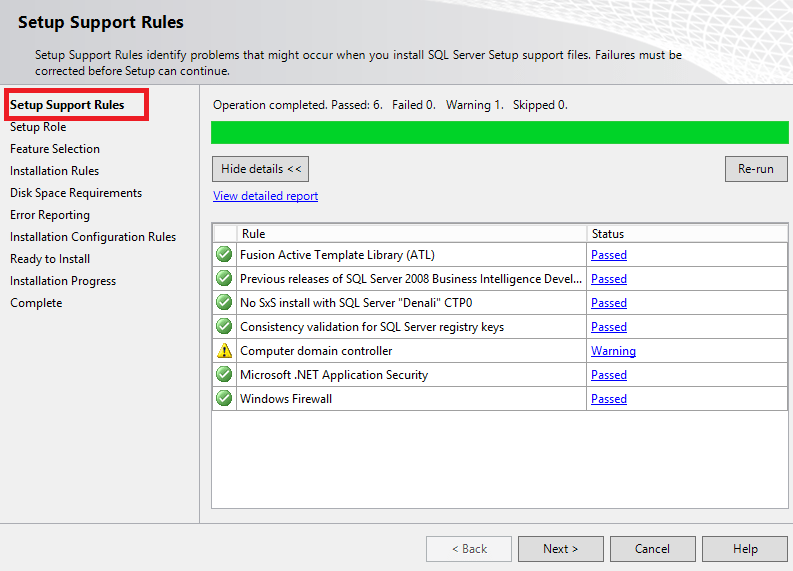
Step 11.Setup Support Rules screen displays,check is there any installation issues. Click on Next .
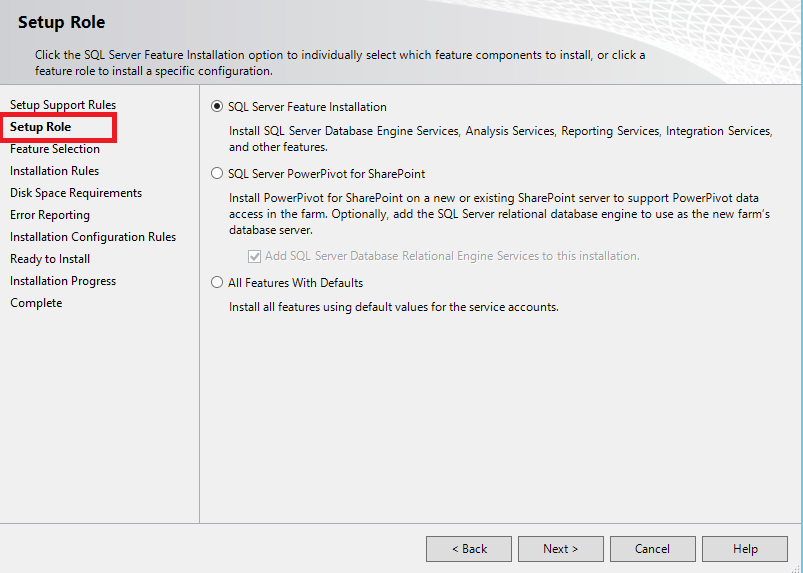
Step 12. Setup Role screen, select the SQL Server Feature Installation and click the Next to continue.
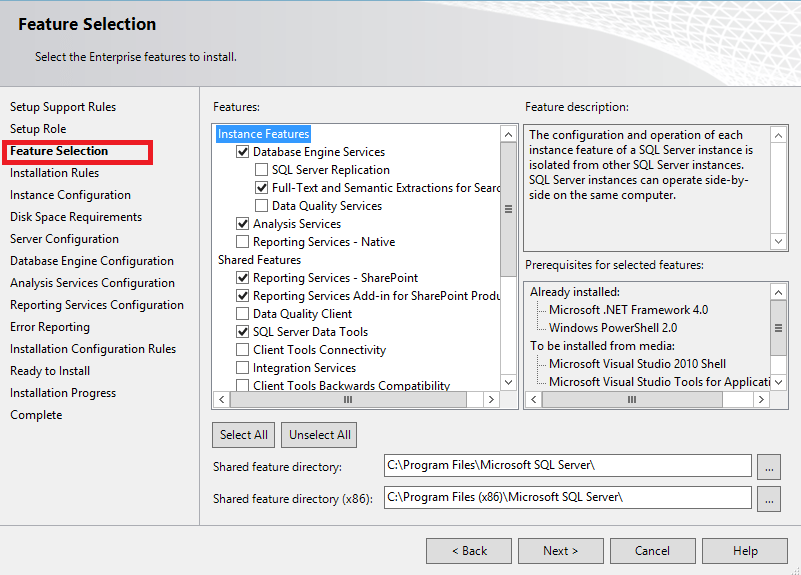
Step 13. Next screen, select the Features of SQL Server.
- Database Engine Services
- Full-Text and Semantic Extractions for Search
- Analysis Services 2.Shared Features
- Reporting Services – SharePoint
- Reporting Services Add-in for SharePoint Products
- SQL Server Data Tools
- Management Tools – Basic
- Management Tools – Complete
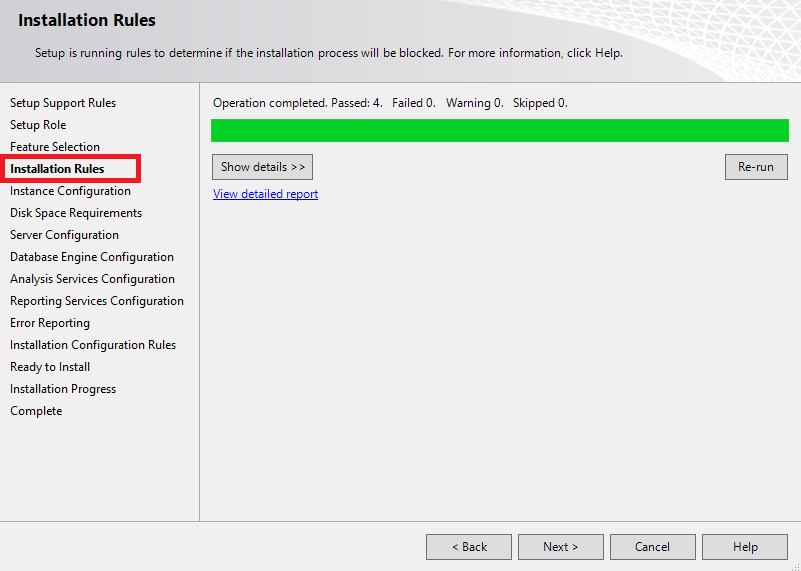
Step 14. in Installation Rules screen, check is there any problems during installation or not.
Step 15. In Instance Configuration screen,Select default SQL Server Instance .Click next to continue.

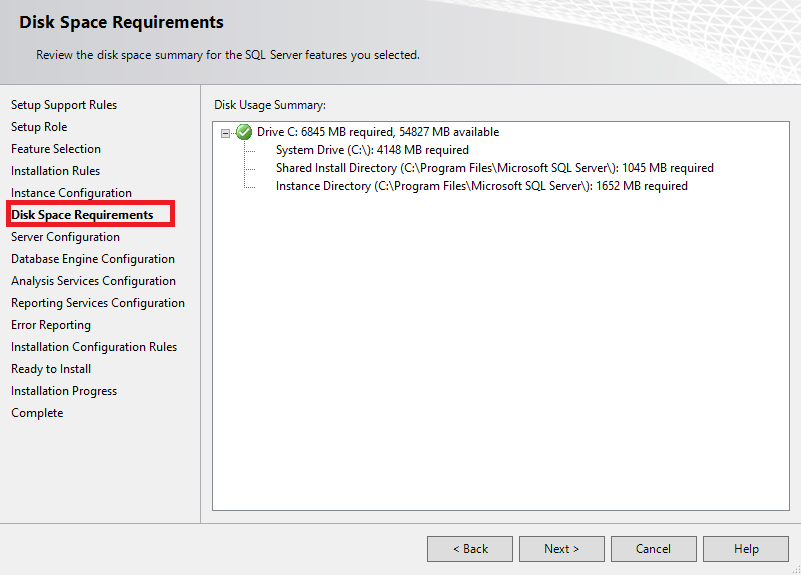
Step 16. In the Disk Space Requirements screen,click on Next button to continue
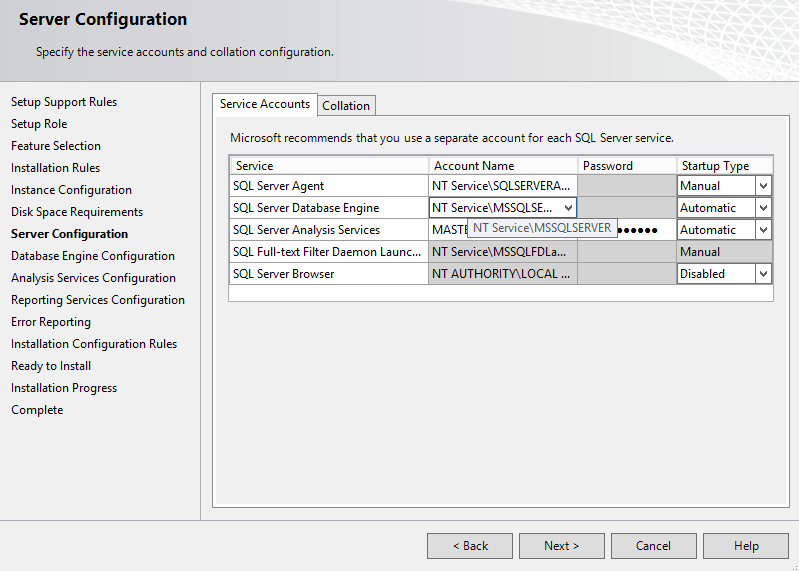
Step 17. In the Server Configuration screen, go to the Service Accounts tab and perform the below mentioned actions
- Select the Startup Type for the SQL Server Agent to Automatic.
- Select the Account Name for the SQL Server Database Engine to NT AUTHORITY\SYSTEM.
- Selecr the Account Name for the SQL Server Analysis Services to NT AUTHORITY\SYSTEM.
- Click Next.
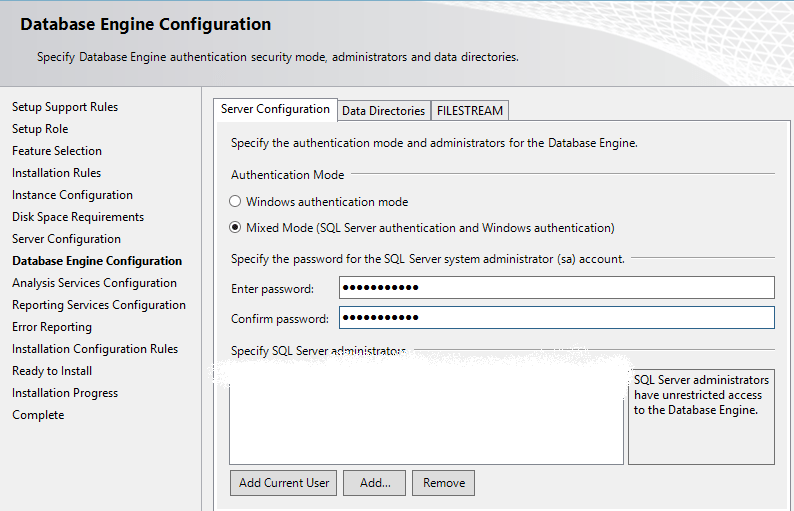
Step 18.Then go to the Server configuration tab and select the Mixed Mode (SQL Server authentication and Windows authentication) option. Also, Add the current logged in user as System Administrator Account.Click Next to continue.
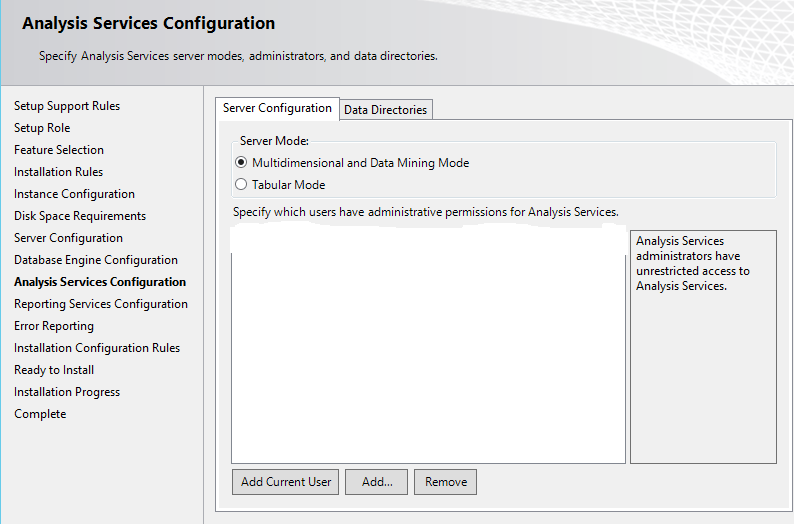
Step 19. In Analysis Services Configuration screen, select the current logged in user as a System Administrator for Analysis Services. Click on Next.
Step 20. In Reporting Services Configuration screen, select the Install button and click on Next to continue.

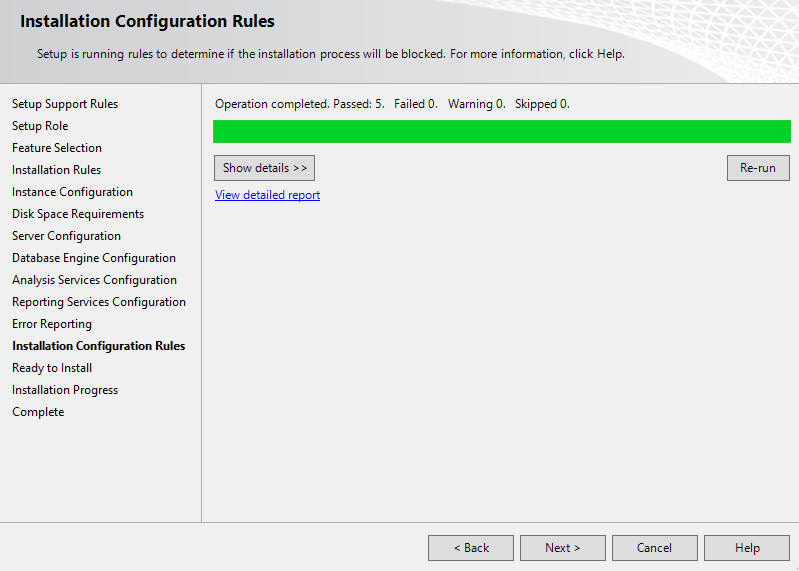
Step 21. Installation Configuration Rules screen, you can see the issues that have occurred during installation.
Step 22. see all functions Ready to Install screen.
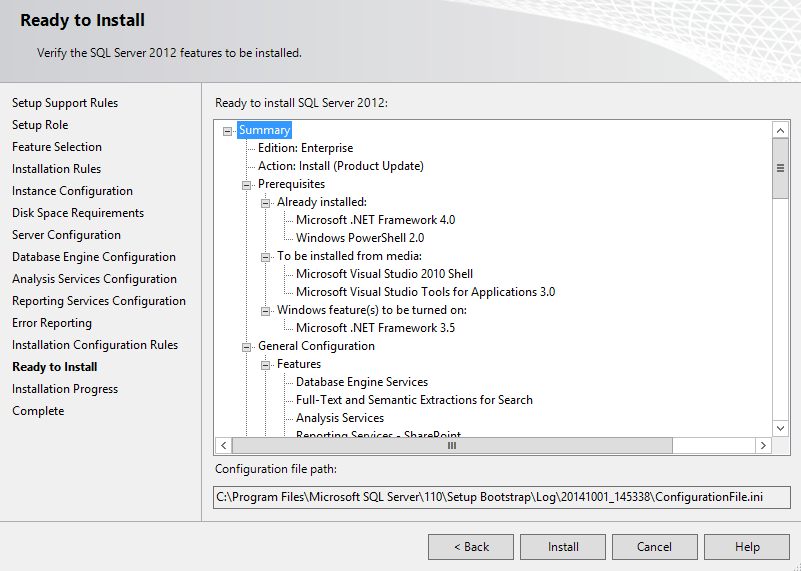
Step 23. Click on Next button
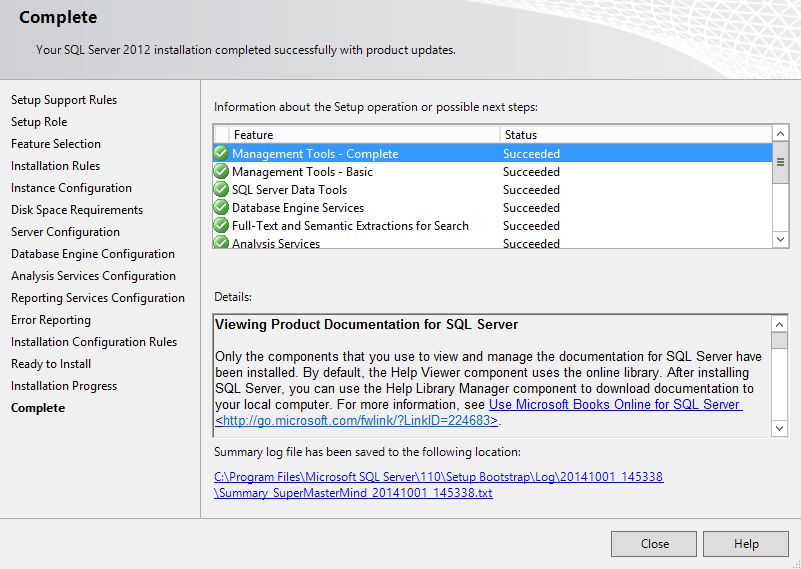
Step 24.Complete screen occurs,Restart your Windows Server 2012 R2.
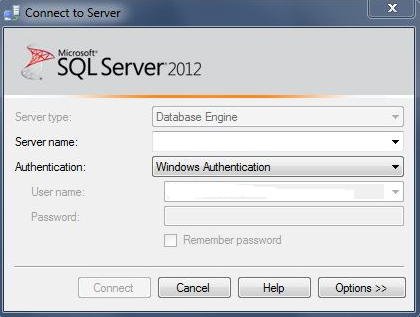
Step 25. Login in to your SQL Server Instance.
Installation is finished successfully.